Pour-over coffee is a brewing method that has gained immense popularity in recent years, especially among coffee enthusiasts who appreciate its clean, rich flavor and the control it offers over every step of the brewing process. Unlike automatic drip machines, pour-over allows you to extract the full potential of your coffee beans by adjusting variables such as grind size, water temperature, and pouring technique. With a bit of practice, you can master the art of pour-over coffee at home and enjoy a café-quality brew every day. Here’s how you can do it.
What You’ll Need
Before getting started, make sure you have the right equipment and ingredients. Here’s what you’ll need to make the perfect pour-over coffee:
- A Pour-Over Coffee Dripper (such as a Hario V60, Chemex, or Kalita Wave)
- Paper Filters (specific to your dripper type)
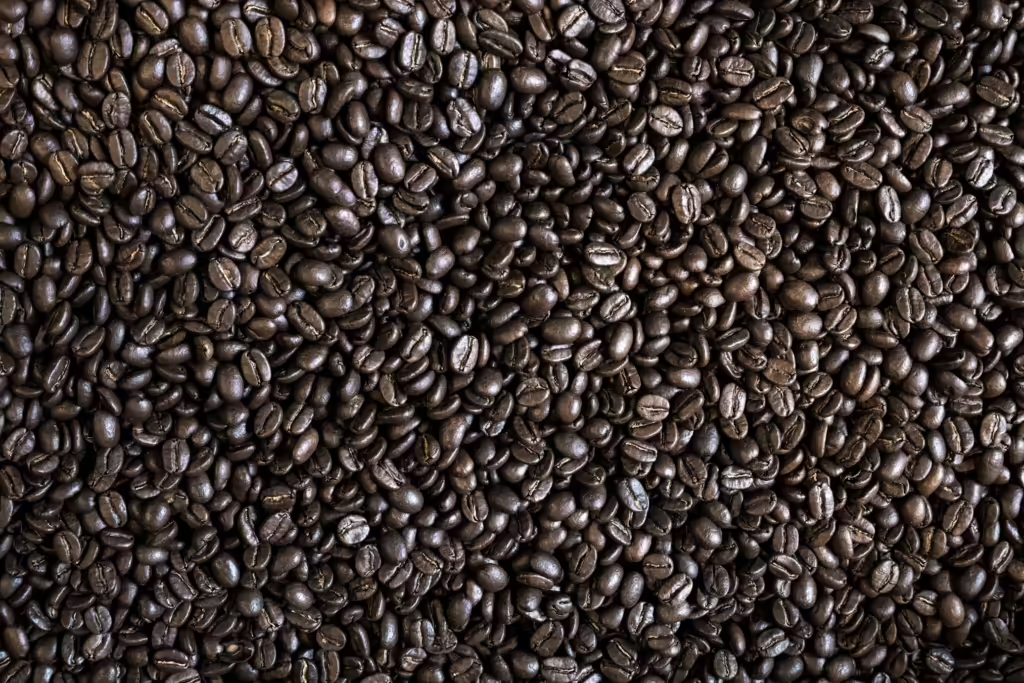
- Fresh Coffee Beans (preferably single-origin for the best flavor profile)
- Burr Coffee Grinder (for grinding the beans just before brewing)
- Gooseneck Kettle (for controlled water pouring)
- Kitchen Scale (for measuring coffee and water accurately)
- Thermometer (optional, but helpful for checking water temperature)
- Timer (to monitor brew time)
Now that you have your tools ready, let’s walk through the step-by-step process to make the perfect pour-over coffee.
Step 1: Heat the Water
Start by heating your water to around 195–205°F (90–96°C), which is the ideal range for brewing coffee. You can use a thermometer to ensure accuracy or bring the water to a boil and let it sit for about 30 seconds to cool slightly. Using water that’s too hot can result in bitter coffee, while cooler water may lead to under-extraction and weak flavor.
Step 2: Grind the Coffee Beans
For pour-over coffee, a medium-coarse grind is usually the best. You’re aiming for a texture similar to sea salt. If your grind is too fine, the coffee may taste overly bitter; if it’s too coarse, the result will be watery and weak.
Measure out about 25–30 grams of coffee (roughly 2 tablespoons) for a single cup. For the best flavor, grind your beans right before brewing to preserve their freshness and aroma.
Step 3: Prepare the Filter and Dripper
Place your paper filter in the dripper, which should be set on top of your coffee mug or carafe. Rinse the filter with hot water to remove any papery taste and to warm up your dripper and mug. After rinsing, discard the water from your mug or carafe.
Step 4: Add the Coffee Grounds
Add your freshly ground coffee to the filter, making sure the grounds are evenly spread out. Tap the dripper slightly to level the bed of coffee, which will help ensure even extraction.
Step 5: Begin the Bloom
The “bloom” is an important step in the pour-over process. It allows the coffee grounds to release trapped carbon dioxide, which helps with even extraction. To bloom the coffee, pour just enough water (about 30–50 grams) over the grounds to wet them evenly. You’ll notice the coffee “blooming” or expanding as it releases gas. Let the coffee bloom for about 30–45 seconds.
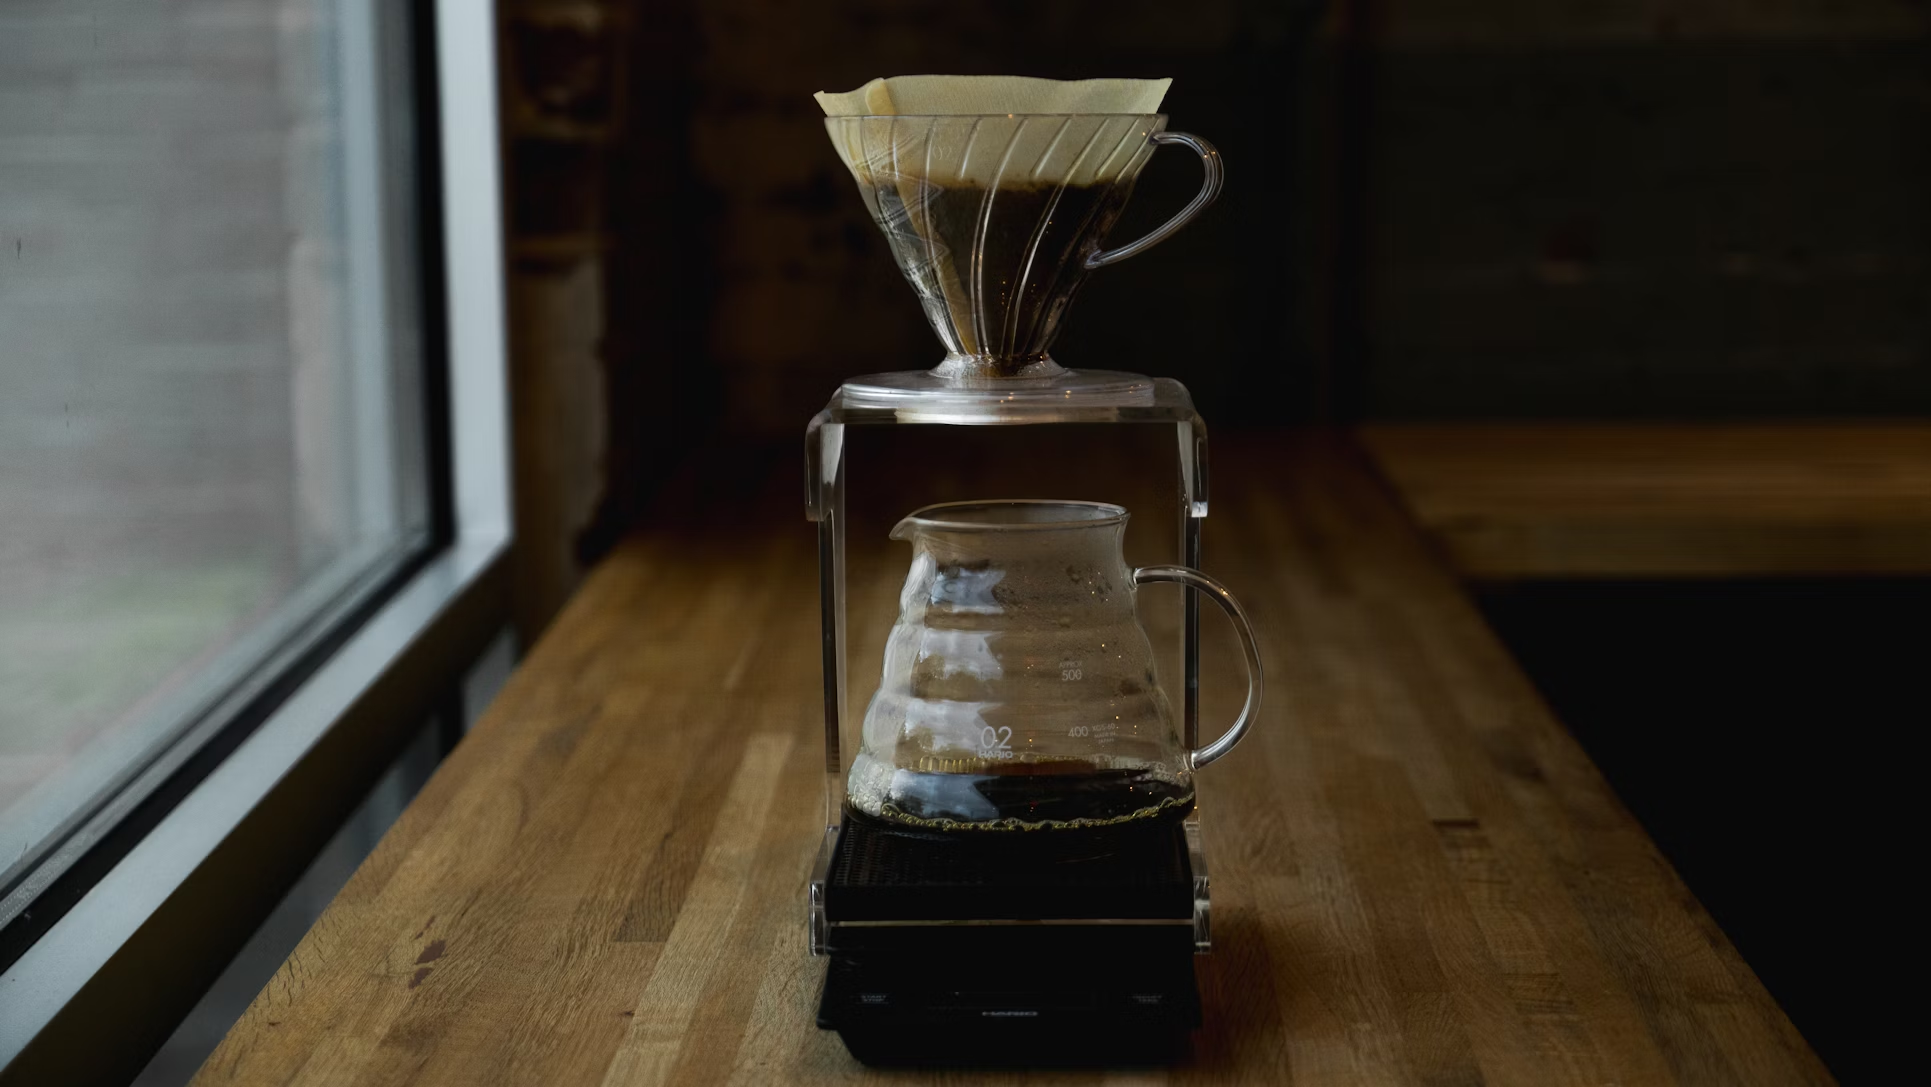
Step 6: Continue Pouring Water
After the bloom, slowly pour the remaining water in a controlled, circular motion, starting from the center and moving outward in a spiral. Try not to pour directly onto the sides of the filter, as this can cause uneven extraction.
The goal is to keep the coffee bed evenly saturated without flooding it. A slow, steady pour is key. For a typical single cup of pour-over coffee, you’ll want to use about 360 grams (12 oz) of water.
Step 7: Wait for the Coffee to Brew
Allow the coffee to drip through the filter completely. The entire process should take between 3–4 minutes for an optimal extraction. If the water is passing through too quickly, your grind might be too coarse; if it’s too slow, try a slightly coarser grind next time.
Step 8: Serve and Enjoy
Once the coffee has finished brewing, discard the filter and grounds, and give your coffee a gentle swirl to mix any uneven concentrations. Now you can sit back, relax, and enjoy your perfectly brewed pour-over coffee!
Tips for the Perfect Pour-Over
To refine your pour-over technique, keep the following tips in mind:
- Use Fresh, High-Quality Coffee Beans
The quality and freshness of your coffee beans significantly impact the flavor of your brew. For the best results, use freshly roasted beans and grind them just before brewing. - Adjust the Ratio to Taste
A standard coffee-to-water ratio is 1:15 (1 gram of coffee to 15 grams of water), but this can be adjusted to suit your taste. For a stronger brew, try a 1:14 ratio, and for a lighter brew, use 1:16. - Control the Water Flow
A gooseneck kettle is highly recommended for pour-over coffee because it gives you better control over the water flow, helping you achieve even extraction. - Experiment with Grind Size
If your coffee tastes too bitter, try using a coarser grind next time. If it’s too weak, adjust to a finer grind. The right grind size is essential for getting the best flavor out of your beans. - Keep Your Water Temperature Consistent
If the water is too hot, it can cause over-extraction and bitterness. If it’s too cool, the coffee may taste sour or weak. Try to maintain a temperature between 195–205°F (90–96°C) throughout the brewing process.
Conclusion
Mastering the pour-over method at home takes practice, but the results are well worth it. This brewing technique allows you to control every aspect of the coffee-making process, from grind size to water temperature, resulting in a cup that is tailored to your personal taste. With the right equipment, freshly roasted beans, and a bit of patience, you can elevate your daily coffee routine to a café-quality experience—all from the comfort of your own kitchen.